Getting Started
Terms and Conditions
You should always check the Developers' Terms and Conditions.
In case of any doubt, you can ask your question, send your comments or sugestions to devhelp@auravant.com.
Here's how to get your Extension running on auravant in just 3 steps (seriously):
1. Create your developer account
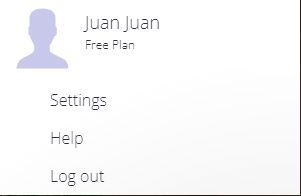
Go to the user menu, located in the upper right part of the window and click on Settings.
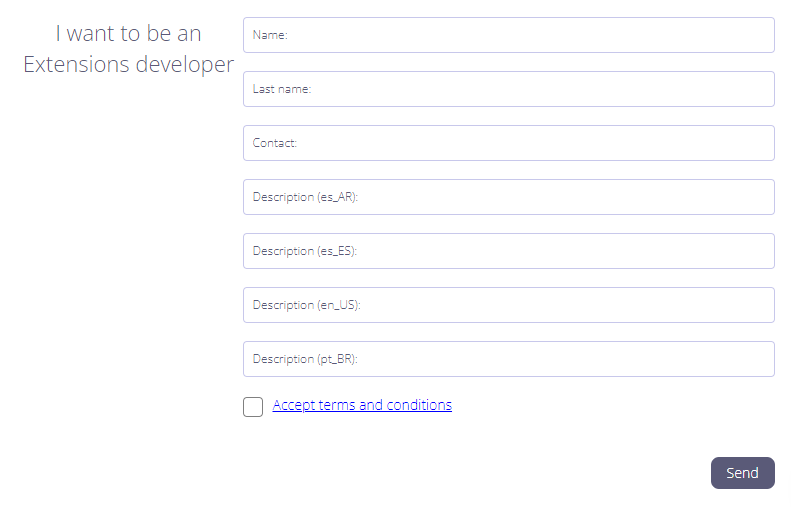
In Developer application, click on Apply to be a developer.

There, you will have to fill in the information requested, accept Terms and Conditions, then click on Send.
2. Create your first Extension
Once your developer account is enabled you will see in the user menu of the platform a new option that will take you to the "Developer Space".
There, click on "Create New" and fill in the information requested, such as the name of the Extension, the image that will identify it, description, etc.
We want to make an important note about the "subdomain" field as it is very important. The Extensions in auravant have a unique domain that will be given by the subdomain you choose followed by aurapps.com. That is, if you define "myextension" as your subdomain we will generate a domain myextension.aurapps.com where your new Extension will run.
3. Upload your first version of the code
Almost there, now just go to the Extensions section where you will see your Extension listed (if you can't see it you will probably have to install it first, so click on "Install apps" and install your new Extension). Your Extension will be marked with a badge that says "DEV", this means that it is a development mode Extension and only the user who generated it will be able to see it.
When you open your new Extension, you will see a window to the right that says "Developer mode", we just need to drag the code of your Extension here to upload the first version of your Extension.
First, we will generate the code of our Extension. To do that create a file called "index.html" and add for example the following code:
<html>
  <body>
    <h1>Hello World!</h1>
  </body>
</html>
Note that we have left out many parts of the code for the sake of brevity, it is likely that your index.html file will look much more complete in your Extension.
Finally zip the index.html file, or the files that are part of the Extension if there are more than one, and drag this zipped file into the developer window. The name of the file is not important, it only matters that it has a .zip extension.
Add a message for your first commit and click "upload commit and refresh" and that's it! The Extension will be refreshed and your first Extension will be working!
Are you working with Vite?
If it's so, we have an extra tip for you!
After you build the project checkout the index.html file that it's in 'dist' folder. It's important that the paths in this file do not contain the './' characters in the beggining, because this will cause an error when you will try to upload a commit.
Instead of eliminate the characters manually, we propose you an automatic solution that will release you from the problem easily.
At the root of the project we will create a file that we will call transformPaths.js with the following content:
import fs from 'fs';

function main(){
    const path = "./dist/index.html"
    try {
        const data = fs.readFileSync(path, {encoding: "utf-8"})
        let final = data.split('src="./').join('src="')
        final = final.split('href="./').join('href="')
        fs.writeFileSync(path, final);
    } catch (err) {
    }
}

main()
In the package.json file we have to modify the "build" script like this:
{
  ...,
  "build": "tsc && vite build && node transformPaths.js",
}
¡Now you are ready to uppload your first commit!